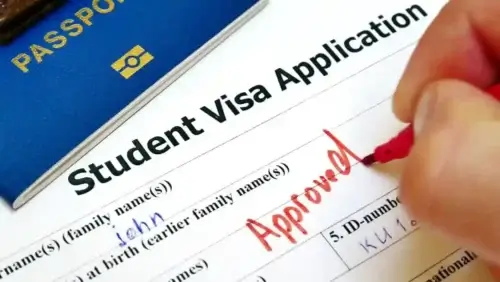
Embarking on the journey of studying in the United States can be exhilarating, but the visa application process might seem daunting. Fear not! Here are the top five ways to streamline your application for a USA student visa.
Table of Contents
Toggle1. Understand the Visa Types
Before diving into the application process, it’s crucial to understand the types of student visas:
- F-1 Visa: This is the most common for academic students enrolled in universities, colleges, high schools, or other academic institutions.
- M-1 Visa: If you’re planning on attending a vocational or other recognized non-academic institution, this is for you.
- J-1 Visa: This is for students who need to obtain practical training that is not available in their home country to complete their academic program.
Knowing which visa you need is the first step to a successful application.
2. Get Your Documents Ready
Preparation is key. Ensure you have all necessary documents:
- A valid passport.
- The Nonimmigrant Visa Application, Form DS-160.
- Application fee payment receipt.
- Passport photo.
- Certificate of Eligibility for Nonimmigrant Student Status (Form I-20 for F-1 or M-1 visas; DS-2019 for J-1 visas).
- Additional documents may be required, such as proof of your intent to depart the U.S. after your study and your financial stability.
3. Pay the SEVIS Fee
Before scheduling your interview, pay the SEVIS (Student and Exchange Visitor Information System) fee. This fee is mandatory for all foreign students and can be paid online through the SEVIS website. Remember to print the payment confirmation as you’ll need it for your visa interview.
4. Schedule and Prepare for Your Interview
Visa interviews are a pivotal part of the process. Schedule your interview with the nearest U.S. Embassy or Consulate. The wait times for interview appointments vary, so apply early! During the interview, be prepared to answer questions about your study plans, university choice, financial status, and post-graduation plans.
5. Follow Post-Interview Steps
Post-interview, if your visa is approved, you might need to pay a visa issuance fee. Follow the instructions provided by the embassy or consulate. After that, keep track of your passport’s return and collect it with your visa.
Additional Tips:
- Start early: Visa processing times can vary, and delays are common.
- Be honest and clear in your interview.
- Understand the rules and regulations surrounding your student visa.
- Remember, a visa does not guarantee entry into the United States. That decision rests with the U.S. Customs and Border Protection (CBP) at your port of entry.
Embarking on your educational journey in the USA is a thrilling experience. With these steps and tips, you’re well on your way to making it a reality. Good luck!
This format provides a clear and informative guide, ideal for students who are new to the U.S. visa application process.
Leave a Reply